Last Updated on January 15, 2026 by Rita
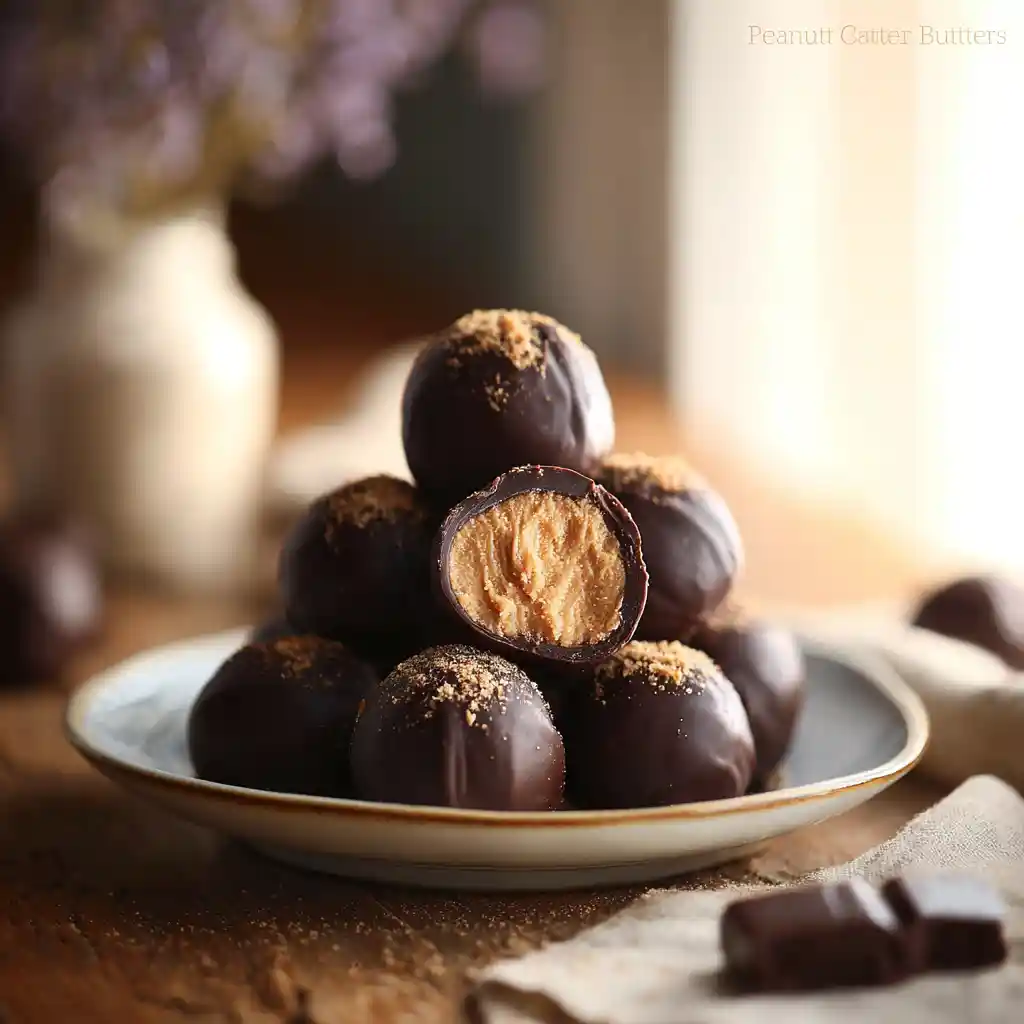
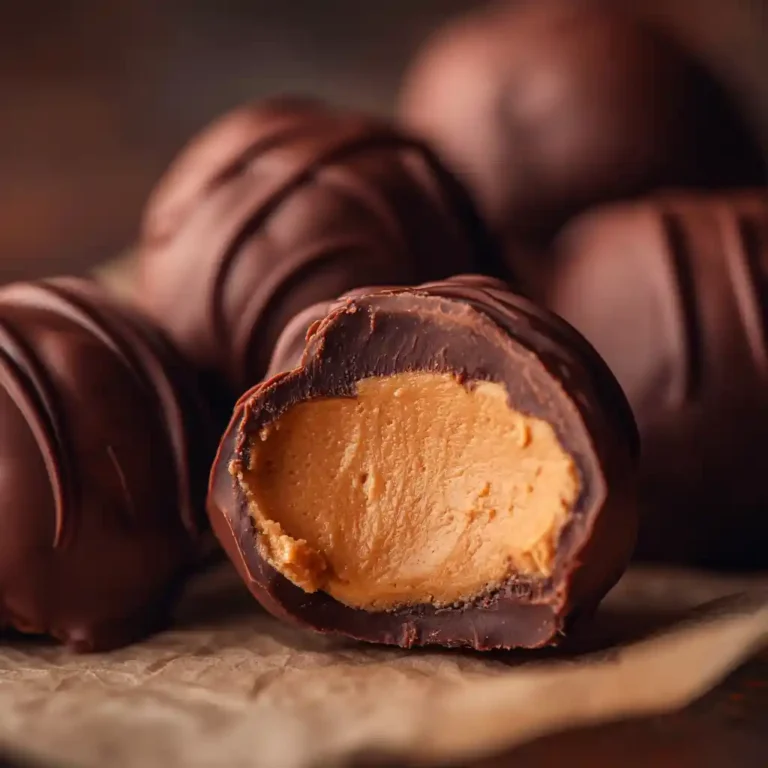
Peanut Butter Chocolate Balls are the kind of dessert that prove pure joy can come from the simplest ingredients. Whenever I crave something sweet but don’t want to turn on the oven, this no-bake treat saves the day. It’s rich, creamy, and irresistibly easy to make.
The first time I made Peanut Butter Chocolate Balls, I was standing in my small Oregon kitchen, blending peanut butter and butter with a wooden spoon the smell alone was heavenly. A few minutes later, glossy chocolate shells covered the soft peanut butter centers, and I was instantly hooked.
These bite-sized wonders balance salty and sweet perfectly. They’re smooth, soft, and satisfy any chocolate craving. And when friends come over, these are the first treats to vanish! For another chocolatey favorite, try my Nutella Mug Cake Recipe a cozy dessert in a single mug.
Table of Contents
Table of Contents
Peanut Butter Chocolate Balls: 4-Ingredient No-Bake Bliss
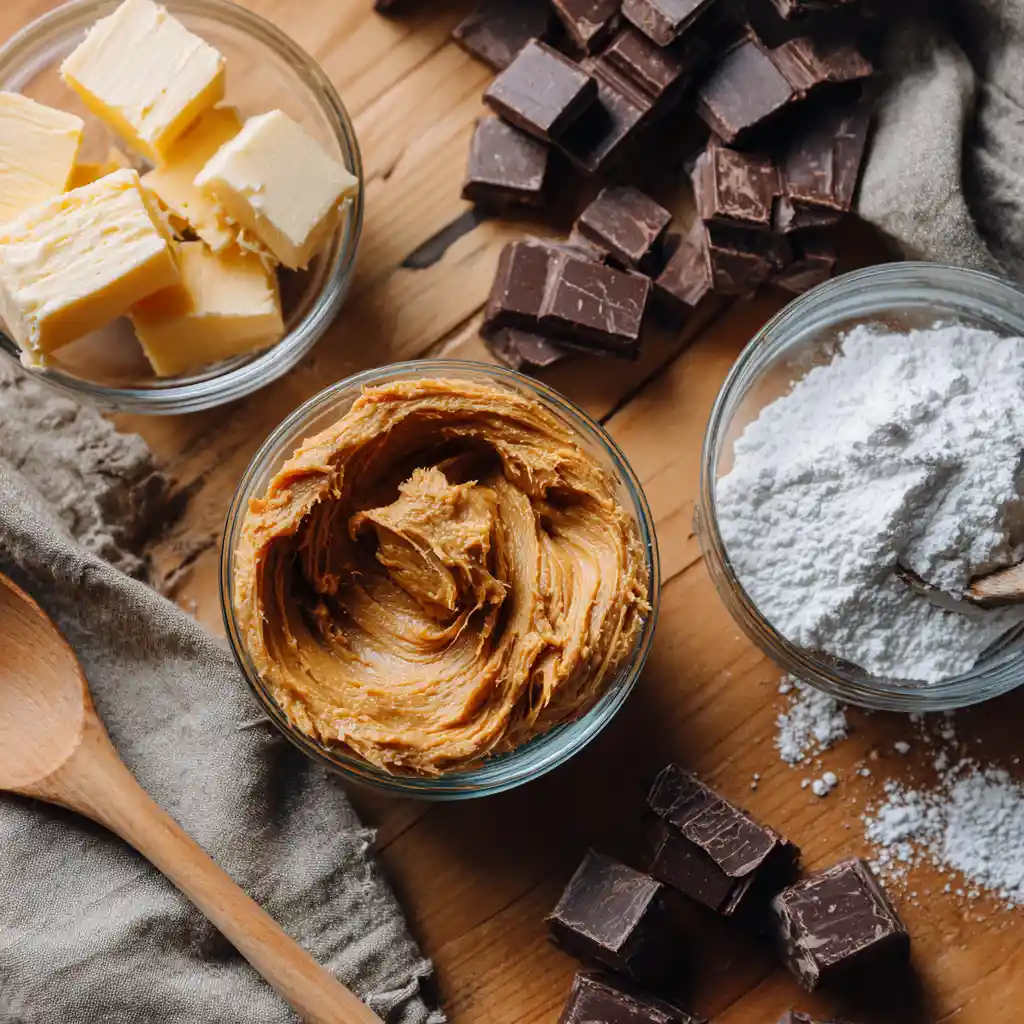
These no-bake Peanut Butter Chocolate Balls are rich, creamy, and melt-in-your-mouth delicious. Made with peanut butter, butter, powdered sugar, and chocolate, they’re the perfect 4-ingredient treat for any occasion.
- Total Time: 40 minutes
- Yield: 24 balls 1x
Ingredients
½ cup creamy peanut butter (or almond butter substitute)
3 tablespoons salted butter, softened
1 cup powdered sugar (plus extra if needed)
8 ounces semi-sweet chocolate, chopped or chips
Instructions
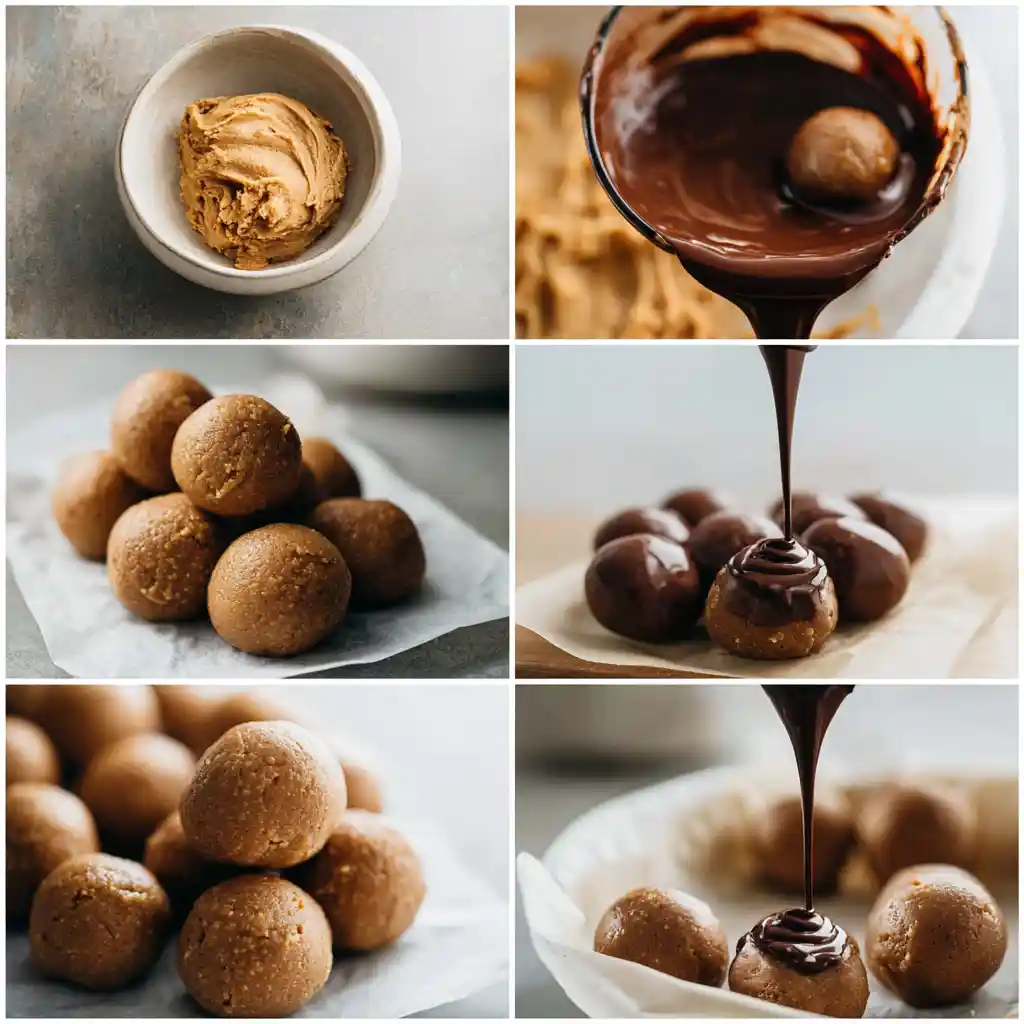
1. Mix peanut butter and butter until smooth.
2. Gradually add powdered sugar until dough forms.
3. Roll into 1-inch balls and refrigerate for 20 minutes.
4. Melt chocolate in microwave or double boiler.
5. Dip balls into chocolate, letting excess drip off.
6. Place on wax paper and refrigerate until firm.
7. Serve chilled and enjoy!
Notes
Make ahead: Peanut butter dough can be made 2 days in advance.
Substitute almond butter or sunflower seed butter for peanut-free version.
Store in the refrigerator up to 10 days or freeze up to 2 months.
If coating cracks, let peanut butter centers warm slightly before dipping.
- Prep Time: 35 minutes
- Cook Time: 5 minutes
- Category: Chocolate Mug Cakes
- Method: No-Bake
- Cuisine: American
- Diet: Vegetarian
Nutrition
- Serving Size: 1 ball
- Calories: 120
- Sugar: 9g
- Sodium: 60mg
- Fat: 8g
- Saturated Fat: 4g
- Unsaturated Fat: 3g
- Trans Fat: 0g
- Carbohydrates: 9g
- Fiber: 1g
- Protein: 3g
- Cholesterol: 10mg
Ingredients & Step-by-Step for Peanut Butter Chocolate Balls
Ingredients:
- ½ cup creamy peanut butter (or almond butter substitute)
- 3 tablespoons salted butter, softened
- 1 cup powdered sugar (plus extra if needed)
- 8 ounces semi-sweet chocolate, chopped (or chocolate chips)
Instructions:
- Mix the Base:
In a medium bowl, mix peanut butter and butter until smooth. Gradually add powdered sugar until the dough for your Peanut Butter Chocolate Balls holds together easily. The mixture should feel thick, soft, and easy to roll. - Form the Balls:
Roll the dough into 1-inch Peanut Butter Chocolate Balls and place them on a parchment-lined tray. If the dough feels too soft, chill it for 15 minutes before shaping. - Chill to Set:
Cover and refrigerate the dough balls for at least 20 minutes. This helps them firm up before dipping in chocolate, giving the chocolate peanut butter balls their perfect candy texture. - Melt the Chocolate:
Melt your chocolate in short microwave bursts or a double boiler. Stir until glossy and smooth this coating gives the Peanut Butter Chocolate Balls their irresistible finish. - Dip and Finish:
Dip each ball into melted chocolate using a fork, letting excess drip off. Set them on wax paper and chill again for 15 minutes until firm.
Storage Tip:
Store your no-bake Peanut Butter Chocolate Balls in an airtight container in the refrigerator for up to one week or freeze them for up to 2 months.
These Peanut Butter Chocolate Balls are quick, rich, and satisfy every craving just like my Molten Chocolate Lava Mug Cake, another treat that proves chocolate comfort doesn’t need to be complicated.
Nutrition, Flavor & Healthy Variations of Peanut Butter Chocolate Balls
Nutrition and Flavor of Peanut Butter Chocolate Balls
The beauty of Peanut Butter Chocolate Balls lies in their balance rich enough to feel indulgent, yet simple and nourishing. Each bite blends creamy peanut butter, silky melted chocolate, and a hint of salt for that perfect contrast.
Beyond taste, these little no-bake treats have real nutritional value. The combination of healthy fats, plant-based protein, and natural sweetness makes them a better alternative to store-bought chocolate snacks. Here’s a quick nutritional look per serving (one ball):
Nutrition Facts (Per Ball):
- Calories: 120
- Protein: 3g
- Carbohydrates: 9g
- Fat: 8g
- Fiber: 1g
Peanut butter offers plant-based protein and satisfying healthy fats that help keep you full longer. Dark chocolate adds antioxidants and a touch of natural sweetness, balancing out the richness of the nut butter.
If you’re after something that feels decadent but keeps your health goals intact, these Peanut Butter Chocolate Balls are the perfect in-between a dessert that feels like a reward, not a cheat.
For another chocolate treat that feels indulgent yet wholesome, check out my High Protein German Chocolate Mug Cake. It shares the same balance of comfort and nutrition.
Healthy Variations of Peanut Butter Chocolate Balls
You can easily adapt Peanut Butter Chocolate Balls to fit any diet dairy-free, vegan, sugar-free, or high-protein. Each variation keeps the same creamy center and chocolatey finish but lets you make it your own.
Healthy Variations to Try:
- Dairy-Free: Swap butter for coconut oil and use dairy-free dark chocolate chips.
- High-Protein: Add 1 tablespoon of chocolate or vanilla protein powder for a thicker, energy-packed dough.
- Sugar-Free: Substitute powdered sugar with monk fruit or erythritol for lower calories.
- Vegan-Friendly: Replace butter with almond butter or coconut oil and use vegan chocolate coating.
- Crunchy Texture: Add chopped nuts, crispy rice cereal, or oats to the dough before rolling.
Every variation still captures what makes Peanut Butter Chocolate Balls special creamy inside, crisp outside, and full of flavor. You can even mix and match variations to create your signature version, just like my custom chocolate mug cakes that inspire everyday creativity in the kitchen.
Serving, Toppings & Storage Tips for Peanut Butter Chocolate Balls
How to Serve Peanut Butter Chocolate Balls
There’s something timeless about serving Peanut Butter Chocolate Balls they’re as perfect for a dinner party as they are for an after-dinner bite in your cozy kitchen. I love presenting them on a small dessert plate with a drizzle of melted chocolate and a sprinkle of crushed peanuts.
The fun part is experimenting with textures. Try rolling a few balls in cocoa powder, shredded coconut, or finely chopped almonds before chilling. You can also top them with a tiny sprinkle of flaky sea salt right before the chocolate sets it heightens the flavor beautifully.
For a crowd-pleasing pairing, serve these Peanut Butter Chocolate Balls with mugs of my Vegan Chocolate Mug Cake Recipe (1 Minute). The soft warmth of the mug cake perfectly balances the chilled, creamy truffle texture.
Serving Ideas to Try:
- Chill before serving for the perfect truffle-like texture.
- Roll some in crushed nuts, others in cocoa for contrast.
- Add a peanut drizzle or white chocolate swirl on top.
- Serve them on dessert boards with fruit, pretzels, or biscotti.
- Insert small wooden picks and turn them into truffle pops.
Simple presentation transforms these little bites into something special proof that even no-bake desserts can feel fancy with a bit of heart.

Storage Tips to Keep Peanut Butter Chocolate Balls Fresh
The key to lasting freshness with Peanut Butter Chocolate Balls is temperature control. Since both peanut butter and chocolate are sensitive to heat, a cool and dry space is best.
Storage Guide:
- Room Temperature: Store up to 2–3 days if your kitchen stays cool (below 70°F).
- Refrigerator: Ideal for up to 10 days in an airtight container.
- Freezer: Keep for 2 months; thaw overnight in the refrigerator before serving.
- Avoid Heat: Warm air softens the chocolate shell always chill during summer.
After 24 hours in the fridge, something magical happens: the chocolate shell firms up perfectly, the peanut butter center slightly thickens, and each bite feels like a handmade truffle.
For more make-ahead treats that stay fresh for days, visit my Mug Cake Mix Recipe it’s a staple for quick desserts that never lose their flavor.
These storage tips ensure your Peanut Butter Chocolate Balls taste bakery-fresh every time, whether you make them for guests, gift boxes, or just yourself.
Tools & Techniques for Making Peanut Butter Chocolate Balls
Essential Kitchen Tools for Perfect Peanut Butter Chocolate Balls
Making Peanut Butter Chocolate Balls doesn’t require a professional kitchen setup just a few basic tools to help you mix, roll, and coat like a pro. These simple items make all the difference in creating smooth peanut butter dough and glossy chocolate shells.
Must-Have Tools:
- Mixing Bowls: One large for the dough and one small for melting chocolate.
- Rubber Spatula or Wooden Spoon: Perfect for combining ingredients without sticking.
- Cookie Scoop or Teaspoon: Helps make evenly sized balls for consistent chilling and dipping.
- Fork or Dipping Tool: Used to lower each ball into melted chocolate and remove smoothly.
- Wax Paper or Parchment Paper: Keeps chocolate balls from sticking during cooling.
- Baking Sheet: Provides structure when transferring them to the fridge or freezer.
A reliable cookie scoop ensures your Peanut Butter Chocolate Balls look uniform it’s the secret behind their professional candy-shop appearance.
Temperature control also matters. Melted chocolate should be warm but not hot, ideally between 86°F and 88°F. Too much heat will melt the peanut butter base, while cool chocolate won’t coat evenly.
Handy Techniques for Easy Mixing and Dipping
To mix the dough, stir slowly at first so the powdered sugar incorporates evenly. If the texture feels too thick, a touch of softened butter can loosen it just enough for rolling.
When it’s time to dip, use a two-hand rhythm one hand rolls the balls, the other dips and taps off excess chocolate. This method keeps your coating smooth and prevents fingerprints.
If your chocolate starts to thicken while dipping, microwave it for 10 seconds and stir again. Maintaining a silky, even texture ensures each Peanut Butter Chocolate Ball looks irresistible.
Let the finished treats rest on wax paper in a cool spot or refrigerate immediately. Within 15 minutes, you’ll have a tray of glossy, picture-perfect candies that look (and taste) like a small-batch confection.
These gentle, mindful techniques are what turn a simple four-ingredient recipe into a dessert that shines elegant, effortless, and absolutely delicious.
Common Mistakes & How to Fix Them
Avoiding Common Problems When Making Peanut Butter Chocolate Balls
Even a simple recipe like Peanut Butter Chocolate Balls can have a few challenges the first time around. Luckily, every mistake has an easy fix, and with a few mindful steps, you’ll create flawless, glossy truffles every time.
One of the most common issues is dough that’s too soft or sticky. This happens when the peanut butter is too warm or there isn’t enough powdered sugar. The solution is simple: gradually add one tablespoon of powdered sugar at a time until the dough firms up enough to roll cleanly. It should feel like a soft cookie dough pliable but not sticky.
If your Peanut Butter Chocolate Balls are crumbling or dry, it means too much sugar was added. To fix this, mix in a teaspoon of melted butter or an extra spoonful of peanut butter to bring the dough back together. The texture should become smooth again and easy to shape.
Fixing Coating Cracks and Uneven Chocolate Texture
Cracked chocolate is another common concern. This usually happens when there’s a temperature difference between the peanut butter centers and the melted chocolate. The key is patience let the rolled dough balls rest at room temperature for 5 minutes before dipping, and make sure the chocolate is only slightly warm to the touch, not hot.
If the coating sets unevenly or looks streaky, refrigerate the dipped balls for about 5 minutes, then re-dip them in another thin layer of melted chocolate. The result will be a flawless, professional-looking finish that holds its shine.
Maintaining Shape and Texture
Warm kitchens or overhandling can soften the dough too quickly. If that happens, pop the tray into the fridge for another 10 minutes before continuing. Work in small batches to keep the rest firm.
And if you want to practice temperature control and coating consistency, try my Molten Chocolate Lava Mug Cake. It’s another chocolate recipe where timing and texture make all the difference just like these no-bake treats.
With a little care, your Peanut Butter Chocolate Balls will turn out smooth, glossy, and perfectly round a picture-perfect dessert that looks as good as it tastes.
Frequently Asked Questions about Peanut Butter Chocolate Balls
What chocolate is best for peanut butter balls?
The best chocolate for Peanut Butter Chocolate Balls depends on your taste preference. Semi-sweet or dark chocolate works perfectly because it balances the sweetness of the peanut butter filling. Milk chocolate creates a creamier, sweeter flavor, while dark chocolate adds a deeper richness. For a smoother coating, choose high-quality bars or chips that melt evenly.
How to make 4 ingredient protein balls?
To make Peanut Butter Chocolate Balls into protein balls, simply replace part of the powdered sugar with one scoop of protein powder. Mix ½ cup peanut butter, 3 tablespoons butter, ½ cup powdered sugar, and 1 scoop protein powder. Roll, chill, and dip in melted chocolate. The texture stays firm, but you get an extra protein boost that makes them ideal as post-workout treats.
Is peanut butter and chocolate a good mix?
Absolutely peanut butter and chocolate are one of the most loved dessert combinations for a reason. The creamy saltiness of peanut butter perfectly balances the sweetness and richness of chocolate. That’s why Peanut Butter Chocolate Balls deliver such a satisfying bite you get harmony between smooth, nutty, and sweet flavors in every piece.
The blend of textures soft inside and crisp outside is what makes this no-bake recipe unforgettable. It’s the same flavor chemistry behind why chocolate mug cakes are so addictive.
How to thicken up peanut butter balls?
If your Peanut Butter Chocolate Balls dough is too soft, add more powdered sugar a tablespoon at a time until it firms up. The goal is a dough that rolls cleanly without sticking. Alternatively, refrigerate the dough for 15–20 minutes chilling helps it solidify naturally.
If it still feels too soft after chilling, a spoonful of oat flour or crushed graham crackers can help absorb moisture while keeping flavor balanced. Avoid overmixing, as it can make the dough oily. Once it’s the right texture, rolling becomes easy, and dipping turns out flawless every time.
Conclusion
Making Peanut Butter Chocolate Balls feels like returning to the heart of why I fell in love with desserts simple ingredients, cozy comfort, and joy shared in small bites. Every time I roll the peanut butter dough between my hands, I’m reminded of childhood afternoons when baking wasn’t about perfection but about laughter, music, and the smell of chocolate filling the kitchen.
What I love most about these treats is how effortless they are. No oven, no mixer, just patience and a few pantry staples that come together to create something extraordinary. With their smooth centers and glossy shells, these Peanut Butter Chocolate Balls prove that you don’t need complex recipes to create pure happiness.
They make wonderful gifts, last-minute party additions, or afternoon pick-me-ups. Keep a batch in the fridge for unexpected guests they’ll disappear faster than you can imagine. And if you enjoy transforming simple ingredients into something memorable, you’ll love my Nutella Mug Cake Recipe. Both recipes capture that same mix of warmth, ease, and indulgence that turns any day into something sweet.
When I serve these Peanut Butter Chocolate Balls, I often hear the same thing: “Did you really make these yourself?” That’s the secret magic of this recipe it looks store-bought but tastes homemade in the best way.
So the next time you need a little joy, melt some chocolate, grab your peanut butter, and make a batch. They’ll remind you, as they remind me, that the simplest recipes often hold the most heart.
Because dessert isn’t just food it’s love you can taste, one chocolate-covered bite at a time.
Discover more cozy dessert recipes in minutes, comfort and sweetness await in every mug.
👉 Save your next craving on Pinterest boards and discover more no-bake dessert recipes you can make in just minutes.
👉 Join me on Facebook page and discover more quick dessert recipes made with love, your next 5-minute chocolate moment is waiting!
👉Find me on Instagram to explore more 5-minute no-bake dessert ideas, simple, sweet, and made to warm your day.