
Last Updated on March 29, 2026 by Rita
Mug cake with Bisquick is a quick microwave dessert made in under 5 minutes using baking mix, fruit, and simple pantry ingredients. This recipe is perfect for a single-serving treat with a soft, fluffy texture and bursts of sweet fruit in every bite. I remember making this in my Oregon kitchen on a busy afternoon, craving something warm but effortless Bisquick made it so easy. This mug cake with Bisquick delivers comfort, speed, and delicious flavor without needing an oven.
If you love easy fruit desserts, you can also try Blueberry Bisquick Mug Cake for another quick and cozy option.
Table of Contents
Table of Contents
What is Mug Cake with Bisquick?
A mug cake with Bisquick is a quick and easy single-serving dessert made using Bisquick baking mix instead of traditional flour. This shortcut ingredient already contains flour, leavening, and fat, which means you can skip multiple steps and still get a soft, fluffy cake in minutes.
Unlike classic mug cakes, this version has a slightly more structured texture, similar to a light biscuit or sponge cake. When you add fruit like berries, apples, or peaches, it transforms into a warm, comforting dessert with natural sweetness and moisture.
One of the best things about a mug cake with Bisquick is how versatile it is. You can easily adapt it to different flavors depending on the season. In summer, I love adding fresh berries, while in fall, diced apples with a pinch of cinnamon make it extra cozy.
This recipe is also perfect for beginners because it reduces measuring errors and simplifies the process. If you want another fruity and simple dessert, try Strawberry Mug Cake for a fresh and sweet variation.
Print
Mug Cake with Bisquick | How to Make a Quick Fruit-Filled Dessert in Minutes
A quick mug cake with Bisquick made in minutes, featuring a soft fluffy texture and sweet fruit in every bite.
- Total Time: 5 minutes
- Yield: 1 serving 1x
Ingredients
Instructions
1. Add Bisquick and sugar to a microwave-safe mug
2. Pour in milk, melted butter, and vanilla extract
3. Mix until smooth and lump-free
4. Gently fold in your fruit
5. Microwave for 1 to 1½ minutes, checking every 30 seconds
6. Let cool for 1–2 minutes before serving
Notes
Do not overmix the batter
Use fresh or frozen fruit
Adjust cooking time depending on microwave power
- Prep Time: 3 minutes
- Cook Time: 2 minutes
- Category: Fruit-Filled Mug Cakes
- Method: Microwave
- Cuisine: American
- Diet: Vegetarian
Nutrition
- Serving Size: 1
- Calories: 300
- Sugar: 18g
- Sodium: 220mg
- Fat: 12g
- Saturated Fat: 5g
- Unsaturated Fat: 6g
- Trans Fat: 0g
- Carbohydrates: 38g
- Fiber: 2g
- Protein: 5g
- Cholesterol: 40mg
Key Ingredients for Making Mug Cake with Bisquick
The magic of a mug cake with Bisquick comes from its simplicity. With just a few basic ingredients, you can create a soft, fluffy dessert packed with fruity flavor in minutes.
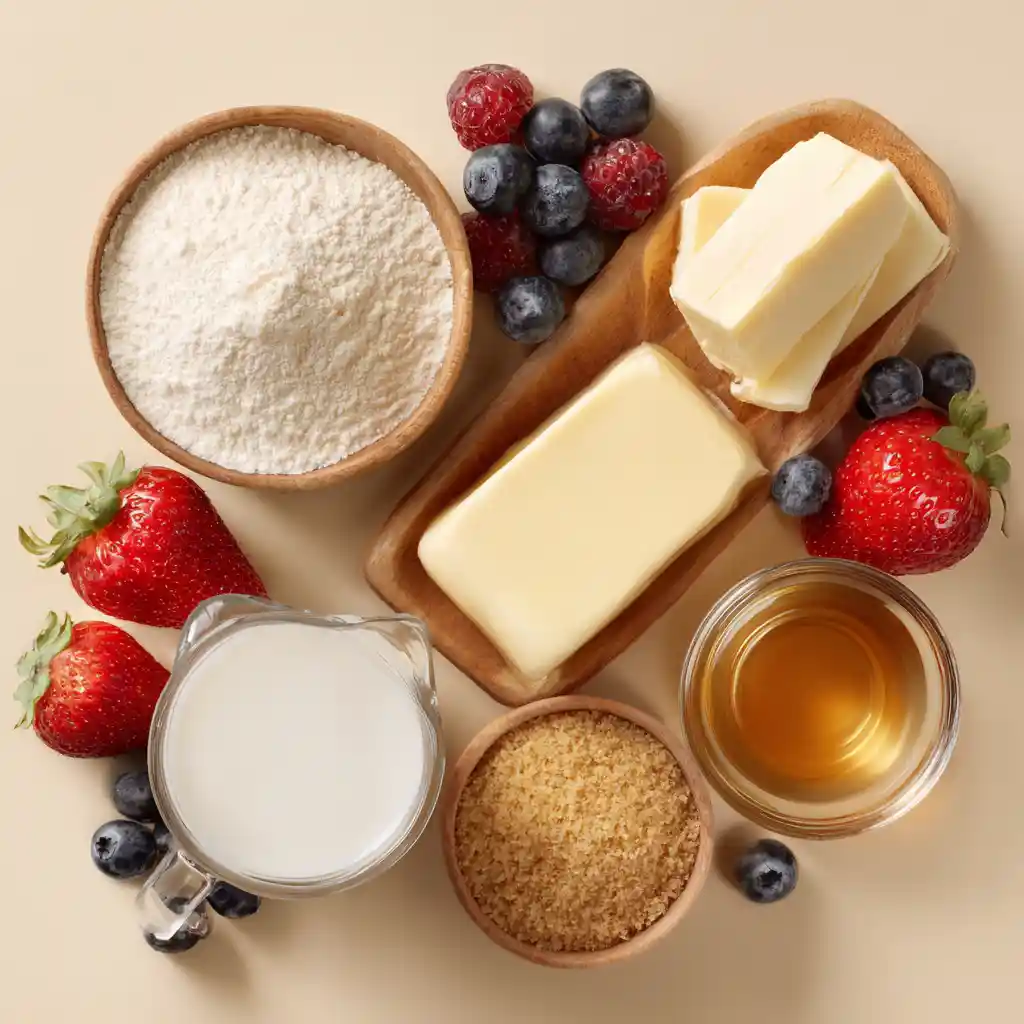
Here’s everything you need:
| Ingredient | Purpose | Pro Tip |
|---|---|---|
| Bisquick mix | Base of the cake | Already includes flour and leavening |
| Milk | Adds moisture and structure | Use whole milk for richer flavor |
| Sugar | Sweetens the cake | Adjust depending on fruit sweetness |
| Butter (melted) | Adds richness | Can swap with oil if needed |
| Fruit (fresh or frozen) | Adds flavor and texture | Berries, apples, or peaches work best |
| Vanilla extract | Enhances flavor | Use pure vanilla for best taste |
This mug cake with Bisquick works so well because the mix simplifies everything. You don’t need to measure flour or baking powder separately, which makes the recipe beginner-friendly and quick.
I love using fresh berries when they’re in season, but frozen fruit works just as well. Just make sure not to overload the batter, or it may stay too wet in the center.
If you enjoy fruity desserts like this, you’ll also love Peach Mug Cake for another easy and delicious option.
How to Make Mug Cake with Bisquick in 5 Easy Steps
Making a mug cake with Bisquick is one of the easiest ways to enjoy a warm, fruit-filled dessert in minutes. Follow these simple steps for the best results every time.
Step 1: Mix the Dry Ingredients
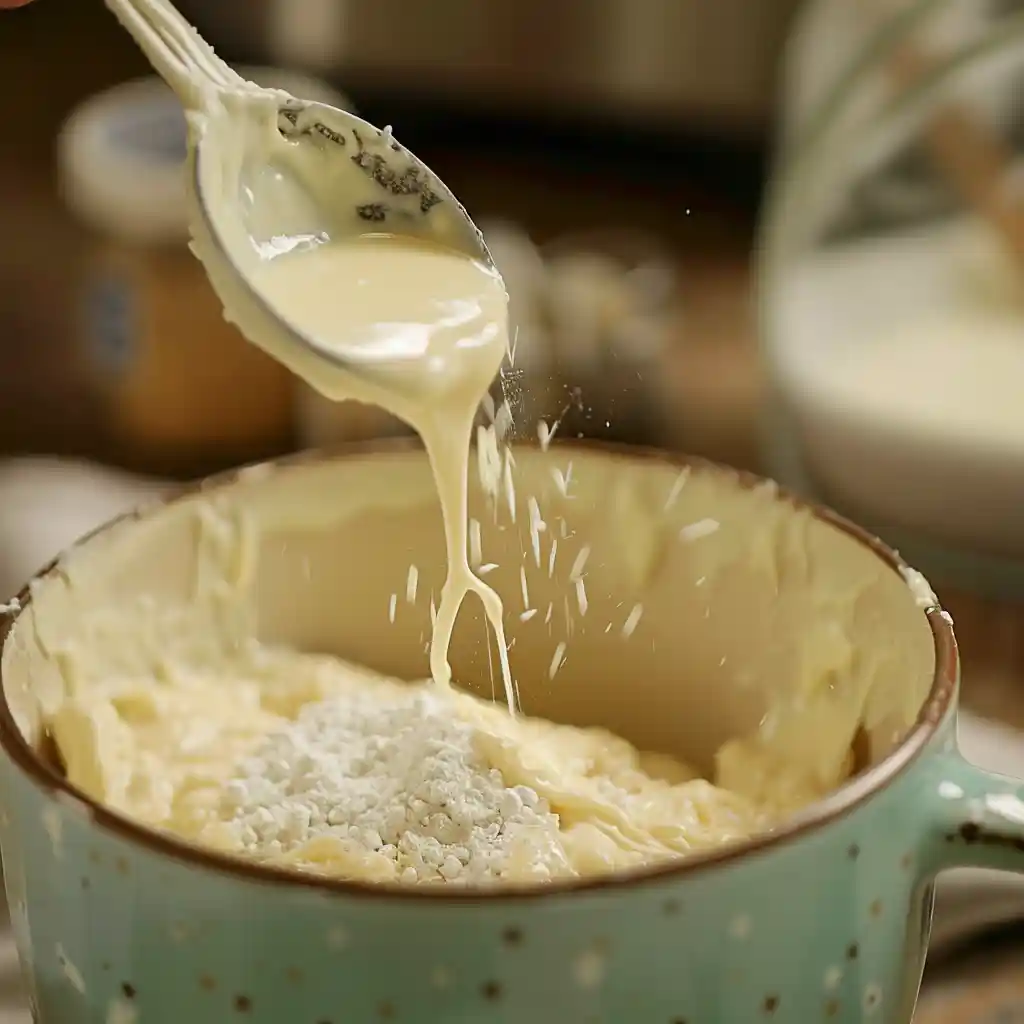
In a microwave-safe mug, add Bisquick mix and sugar. Stir briefly to combine. This creates the base for your batter.
Step 2: Add Wet Ingredients
Pour in milk, melted butter, and vanilla extract. Mix היט until smooth and lump-free. This step ensures your cake will have a soft and even texture.
Step 3: Fold in the Fruit

Gently add your chosen fruit, such as berries, diced apples, or peaches. Stir lightly so the fruit spreads evenly throughout the batter.
Step 4: Prepare for Cooking
Make sure the batter fills only about halfway up the mug. This allows room for the cake to rise while cooking.
Step 5: Microwave and Rest
Microwave for 1 to 1½ minutes, checking at 30-second intervals. The top should look set but still soft. Let it rest for 1–2 minutes before eating so it finishes cooking and firms up.
This mug cake with Bisquick creates a fluffy texture with juicy fruit in every bite. I love adding a little whipped cream or a drizzle of honey on top for extra comfort.
If you enjoy quick desserts like this, try Microwave Mug Apple Crisp.
Essential Tools for Making Mug Cake with Bisquick
You only need a few simple tools to make a perfect mug cake with Bisquick, which is why this recipe is so convenient for quick desserts at home.
First, choose a microwave-safe mug that holds at least 10–12 ounces. A slightly wider mug helps the cake cook evenly and prevents overflow while it rises.
Next, use a small spoon or fork to mix your ingredients directly in the mug. This keeps cleanup minimal and makes the process even faster.
A measuring spoon is also helpful to keep your ingredient ratios accurate. Since mug cakes are small, even slight changes can affect texture.
Finally, you’ll need a microwave with adjustable timing. Because microwave power varies, checking your cake every 30 seconds ensures the best result.
I love how this setup keeps everything simple and stress-free. If you enjoy easy tools and cozy desserts, you can also try Cinnamon Mug Cake for 1 for another quick favorite.
The Health Benefits of Mug Cake with Bisquick
While a mug cake with Bisquick is a treat, it can still offer some balanced benefits when you prepare it with the right ingredients. I always like to highlight how even simple desserts can include a bit of nourishment.
First, using fruit adds natural sweetness along with vitamins and fiber. Berries, apples, or peaches bring antioxidants and help balance the richness of the cake. That means your dessert feels lighter and more satisfying.
Bisquick mix simplifies baking, but it also provides carbohydrates for quick energy. When combined with milk, the recipe gains a small boost of protein and calcium, which supports overall nutrition.
Another advantage of this mug cake with Bisquick is portion control. Since you make just one serving, it helps prevent overeating and keeps indulgence moderate. That’s something I always appreciate when I want a quick dessert without going overboard.
You can also make simple adjustments to improve the nutrition. For example, reduce sugar, use low-fat milk, or add extra fruit for more natural sweetness.
If you’re looking for lighter options, you might also enjoy Healthy Mug Cake Recipe for a more balanced dessert idea.
Expert Tips for the Best Texture
Getting the perfect texture in a mug cake with Bisquick makes all the difference between a dry cake and a soft, fluffy, fruit-filled dessert. With a few simple tips, you can get it right every time.
First, do not overmix the batter. Stir just until the ingredients combine. Overmixing can make the cake dense instead of light and fluffy.
Next, balance the liquid carefully. Since fruit releases moisture while cooking, avoid adding too much milk. If the batter looks too thin, add a small spoon of Bisquick to thicken it slightly.
Microwave timing is also key. Start with 1 minute, then check every 15–20 seconds. The top should look set but still soft. Overcooking will make the cake rubbery.
Choose the right fruit size as well. Cut larger fruits like apples into small pieces so they cook evenly. This ensures every bite of your mug cake with Bisquick has the perfect texture.
Finally, let the cake rest after microwaving. This step allows the structure to set and improves the overall consistency.
If you enjoy soft and perfectly textured desserts, you’ll also love Flourless Chocolate Cake in a Mug for another rich and smooth option.
Variations of Mug Cake with Bisquick
One of my favorite things about a mug cake with Bisquick is how easy it is to customize. You can switch flavors based on the season, your cravings, or whatever ingredients you have on hand.
For a classic berry version, use blueberries, raspberries, or strawberries. These fruits add natural sweetness and a juicy texture that pairs perfectly with the soft cake.
If you want a cozy fall twist, try diced apples with a pinch of cinnamon and brown sugar. This creates a warm, comforting flavor that feels like a mini apple pie in a mug.
For a tropical option, add chopped mango or pineapple. These fruits bring a bright, fresh taste that makes the dessert feel lighter and refreshing.
You can also make a richer version by adding a few chocolate chips or a drizzle of caramel on top after cooking. The combination of fruit and chocolate creates a more indulgent dessert.
If you need a dairy-free option, replace milk with almond or oat milk and use oil instead of butter. The texture stays soft while adapting to your needs.
I love trying new combinations depending on my mood. If you enjoy creative mug desserts, you should also try Mango Sticky Rice Mug Cake Recipe for a unique fruity twist.
Storage and Reheating Tips for Mug Cake with Bisquick
A mug cake with Bisquick tastes best fresh, but you can still store and enjoy it later with the right approach. I often make an extra one when I know I’ll want a quick treat later in the day.
First, let the mug cake cool completely before storing. Once cooled, cover the mug or transfer the cake to an airtight container. Store it in the refrigerator for up to 2 days to keep it fresh.
If you want to prepare ahead, you can mix the batter (without fruit) and refrigerate it for up to 24 hours. When ready, add the fruit, microwave, and enjoy a freshly made dessert.
To reheat, microwave the cake for 15–20 seconds. Keep the time short to avoid drying it out. The goal is to gently warm it while keeping the texture soft and moist.
For best results, add a topping after reheating. A spoon of yogurt, whipped cream, or a drizzle of honey helps restore moisture and enhance flavor.
I love how this mug cake with Bisquick fits into busy days you can make it fresh or enjoy it later without losing that comforting, homemade feel.
If you enjoy make-ahead desserts, try 5-Minute Desserts for more quick and easy ideas.
Troubleshooting Mug Cake with Bisquick
If your mug cake with Bisquick doesn’t turn out perfectly, don’t worry. Small adjustments can quickly fix the most common issues and improve your results.
| Problem | Why it happens | How to fix it |
|---|---|---|
| Too dry or crumbly | Overcooked or not enough liquid | Reduce microwave time and add a splash of milk |
| Too wet or undercooked | Too much fruit or short cooking time | Microwave 10–15 seconds more and use less fruit |
| Dense texture | Overmixed batter | Stir just until combined |
| Rubbery texture | Overcooked in microwave | Cook in shorter intervals and stop early |
| Fruit sinks to bottom | Batter too thin | Add a bit more Bisquick to thicken |
| Lacks flavor | Not enough sugar or vanilla | Add a little more sweetener or vanilla extract |
These quick fixes will help you perfect your mug cake with Bisquick and get a soft, fluffy texture every time.
Frequently Asked Questions About Mug Cake with Bisquick
Can you make a mug cake with Bisquick?
Yes, you can make a mug cake with Bisquick easily in the microwave. Bisquick already contains flour and leavening, so you only need to add milk, sugar, and a few ingredients to create a soft, fluffy cake in minutes.
How long do you microwave a mug cake with Bisquick?
Most recipes take about 1 to 1½ minutes depending on your microwave power. For best results, check every 20–30 seconds and stop when the top looks set but still soft.
Why is my mug cake dry?
A mug cake becomes dry when it is overcooked or lacks enough liquid. To fix this, reduce cooking time slightly and make sure your batter has enough milk for moisture.
Can I add fruit to a Bisquick mug cake?
Yes, adding fruit is one of the best ways to enhance a mug cake with Bisquick. Berries, apples, peaches, or even mango work well and add natural sweetness and moisture.
Can I use water instead of milk in a mug cake?
Yes, you can use water instead of milk, but the texture will be less rich. Milk adds flavor and softness, so it’s the better option if available.
Do I need baking powder if I use Bisquick?
No, you don’t need baking powder. Bisquick already includes leavening agents, which help the cake rise properly.
Final Thoughts, Why You’ll Love This Mug Cake with Bisquick
This mug cake with Bisquick is one of those recipes I come back to again and again. It’s quick, simple, and brings so much comfort in just a few minutes. I love how it turns basic pantry ingredients into a warm, fruit-filled dessert without any stress.
What makes it special is how flexible it is. You can change the fruit, adjust the sweetness, or add your favorite toppings. Every time feels a little different, but always just as satisfying.
For me, this recipe fits perfectly into real life. Whether I need a fast dessert after dinner or a cozy afternoon treat, it always delivers that soft texture and sweet flavor I crave.
And like I always say in my kitchen:
Dessert is love you can taste.
Discover more cozy dessert recipes in minutes, comfort and sweetness await in every mug.
👉 Save your next craving on Pinterest boards and discover more no-bake dessert recipes you can make in just minutes.
👉 Join me on Facebook page and discover more quick dessert recipes made with love, your next 5-minute chocolate moment is waiting!
👉 Find me on Instagram to explore more 5-minute no-bake dessert ideas, simple, sweet, and made to warm your day.
“If you tried this recipe, tell me how it turned out. Did you keep it gooey or cook it fully?”